Chocolate Lava Cake
Highlighted under: Sweet Bakes
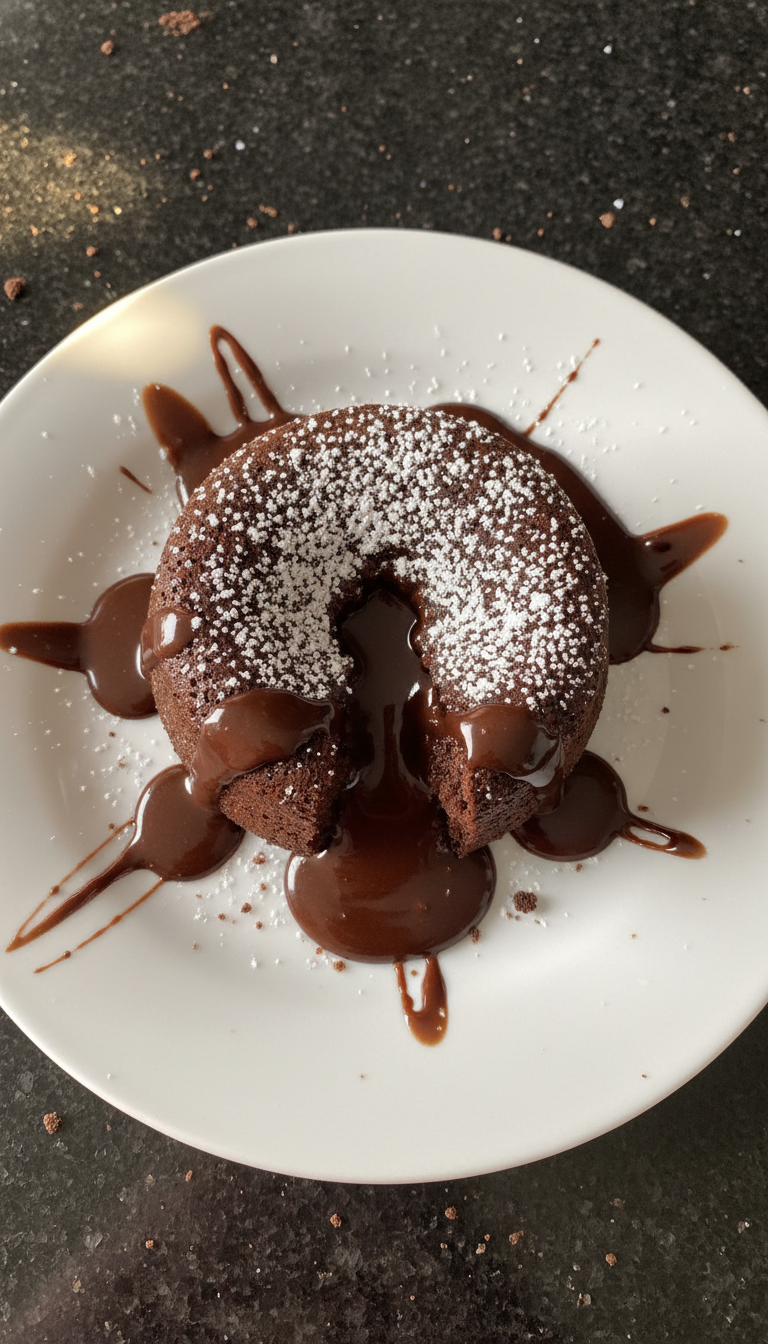
I absolutely love indulging in a rich Chocolate Lava Cake, especially when it oozes molten chocolate with each bite. The perfect balance of crispy crust and gooey center makes this dessert a favorite in our household. It's surprisingly simple to make and ideal for impressing guests or treating myself after a long day. With just a few ingredients, I can create a decadent treat that feels gourmet. Whether paired with ice cream or enjoyed solo, this cake never fails to satisfy my chocolate cravings!
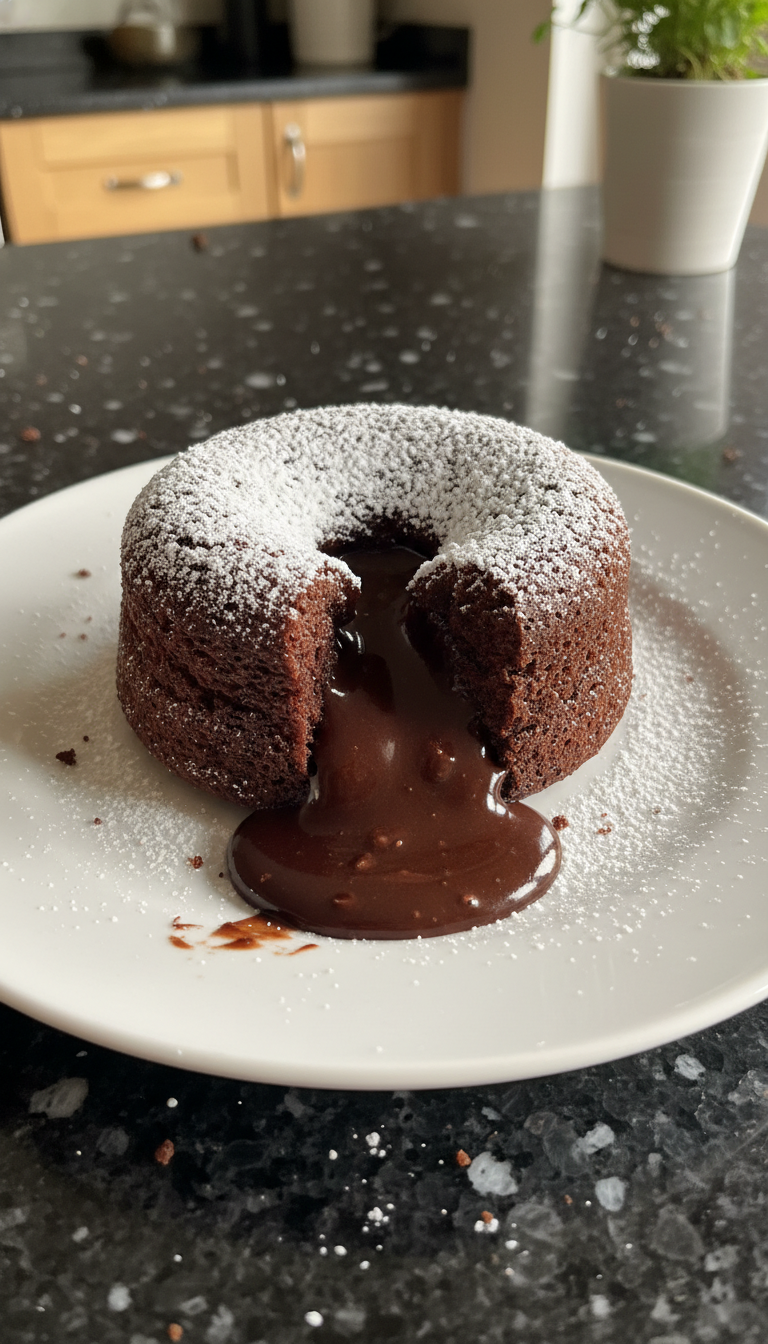
When I first baked a Chocolate Lava Cake, I was amazed at how the batter transformed into the delicious treat I had tasted in restaurants. It's not just about the ingredients but the timing; allowing it to bake for just the right duration is crucial for achieving that perfect gooey center. I remember the first time my family tried it—they were all speechless as the chocolate melted out like a delicious surprise!
I also discovered that using high-quality chocolate makes a significant difference. The richness of the chocolate enhances the flavor, elevating the entire dessert. I often experiment by adding a pinch of sea salt on top before serving, which beautifully contrasts the sweetness!
Why You Will Love This Recipe
- Decadent molten chocolate center that is pure bliss
- Quick and easy to prepare, perfect for any occasion
- Foolproof recipe that guarantees impressive results
Choosing the Right Chocolate
Selecting a high-quality semisweet chocolate is crucial for the rich flavor of your Chocolate Lava Cake. Look for chocolate with a cocoa content of at least 60% for a balanced sweetness that complements the cake's decadent nature. Brands like Ghirardelli or Callebaut are excellent choices, as they melt smoothly and provide that luxurious molten texture. Avoid using chocolate chips as they tend to hold their shape when melted, which will not give you the desired lava effect.
When shopping for chocolate, consider buying bars instead of chips, as they are designed for melting and will yield a more homogeneous mixture. If you're feeling adventurous, you can experiment with dark chocolate for a more intense flavor or even add a touch of espresso powder to enhance the chocolate notes. Just remember that using a different chocolate type may alter the sweetness, so adjust the sugar accordingly.
Baking for the Perfect Texture
The key to achieving that exquisite molten center lies in precise baking times. Keep an eye on your cakes as they bake—oven temperatures can vary, and 11 to 12 minutes is a guideline that might require adjustments. You want the edges to be set while the center remains soft. A visual cue is to look for puffed edges while the center appears slightly jiggly. If you accidentally overbake, you can end up with a dry texture and miss the signature liquid chocolate center.
To test doneness, you can gently shake the ramekin; if the center jiggles slightly, you're in the sweet spot. Additionally, I recommend using a toothpick to check; it should come out with a few moist crumbs, but not completely clean. This perfect balance is essential for that expected explosion of chocolate when you cut into the cake.
Serving and Enjoying Your Creation
Serving your Chocolate Lava Cake can take it to another level! While it's delicious on its own, I love pairing it with a scoop of vanilla ice cream, which melts into the warm cake, creating a delightful contrast in temperatures. This combination provides a creamy texture that beautifully complements the richness of the molten chocolate. Consider garnishing with fresh berries or a drizzle of caramel sauce to elevate the presentation and add a fruity or nutty flavor touch.
For a fun twist, try adding flavored liquors such as orange liqueur or coffee liqueur to the batter for an adult version of this dessert. You can also sprinkle a pinch of sea salt on top just before serving to enhance the chocolate flavor. Allow guests to break into their cakes and watch that chocolate flow—it's an experience that will wow anyone!
Ingredients
Gather these ingredients to get started.
Ingredients
- ½ cup unsalted butter
- 1 cup high-quality semisweet chocolate, chopped
- 2 large eggs
- 2 large egg yolks
- ¼ cup granulated sugar
- 2 tablespoons all-purpose flour
- Pinch of salt
- Powdered sugar for dusting (optional)
- Vanilla ice cream for serving (optional)
Make sure to have everything ready before you start cooking!
Instructions
Follow these steps to create your Chocolate Lava Cake.
Prep the Oven
Preheat your oven to 425°F (220°C) and grease four ramekins with butter, then dust them with flour to prevent sticking.
Melt Chocolate and Butter
In a microwave-safe bowl, combine the unsalted butter and chopped chocolate. Microwave in 30-second increments until melted and smooth, stirring in between.
Whisk Eggs and Sugar
In another bowl, whisk together the eggs, egg yolks, and granulated sugar until frothy and slightly thickened. This will add air, giving your cake a nice rise.
Combine and Bake
Pour the melted chocolate mixture into the egg mixture, folding gently. Sift in the flour and salt, and mix until just combined. Divide the batter evenly among the prepared ramekins and bake for 11-12 minutes until the edges are firm but the center is still soft.
Serve
Allow the cakes to cool for 1 minute, then run a knife around the edges and invert onto plates. Dust with powdered sugar and serve with a scoop of vanilla ice cream if desired.
Enjoy your Chocolate Lava Cake while it's warm and the center is still gooey!
Pro Tips
- For a fun twist, try adding a tablespoon of coffee liqueur to the batter for an enhanced chocolate flavor.
Ingredient Storage and Substitutions
If you're planning to make your Chocolate Lava Cake ahead of time, store the batter in the refrigerator for up to 24 hours. Just make sure to bring it to room temperature before baking, as this will ensure even baking. It's also worth noting that the baked cakes can be stored at room temperature for one day or refrigerated for three days, keep them covered to prevent drying out.
Should you require substitutions due to dietary preferences or restrictions, you can use almond flour instead of all-purpose flour for a gluten-free version. Additionally, you can replace eggs with flax eggs (1 tablespoon of flaxseed meal mixed with 2.5 tablespoons of water per egg) or use a store-bought egg replacer to maintain the cake's structure.
Troubleshooting Common Issues
One common mishap is ending up with cakes that are too firm or dry inside. This can happen if they are baked too long or the oven temperature is too high. To troubleshoot, always begin checking at 10 minutes to ensure they aren't overbaking. If you discover the centers are too runny after the first attempt, you may gently return them to the oven for an additional minute, but keep a watchful eye as this can quickly lead to the center setting.
Another issue can arise from greasing the ramekins incorrectly. If the cakes stick, thoroughly butter and flour the ramekins before filling them with batter. Alternatively, using silicone ramekins can ease the process, as they naturally allow for easy removal of the cakes without sticking.
Questions About Recipes
→ Can I make the batter ahead of time?
Yes! You can prepare the batter a few hours ahead and refrigerate it in the ramekins. Just add a couple of extra minutes to the baking time if baking straight from the fridge.
→ What should I do if my lava cake doesn't ooze?
If the center appears too set, it may have been baked too long. Each oven is different, so keep a close watch during the last few minutes.
→ Can I use different types of chocolate?
Absolutely! Dark, milk, or even white chocolate can be used, but keep in mind that the sweetness level will vary.
→ Is it okay to freeze the batter?
Yes, you can freeze the prepared batter. Just thaw it in the refrigerator before baking.
Chocolate Lava Cake
Created by: The Foodieloom Team
Recipe Type: Sweet Bakes
Skill Level: Intermediate
Final Quantity: 4 servings
What You'll Need
Ingredients
- ½ cup unsalted butter
- 1 cup high-quality semisweet chocolate, chopped
- 2 large eggs
- 2 large egg yolks
- ¼ cup granulated sugar
- 2 tablespoons all-purpose flour
- Pinch of salt
- Powdered sugar for dusting (optional)
- Vanilla ice cream for serving (optional)
How-To Steps
Preheat your oven to 425°F (220°C) and grease four ramekins with butter, then dust them with flour to prevent sticking.
In a microwave-safe bowl, combine the unsalted butter and chopped chocolate. Microwave in 30-second increments until melted and smooth, stirring in between.
In another bowl, whisk together the eggs, egg yolks, and granulated sugar until frothy and slightly thickened. This will add air, giving your cake a nice rise.
Pour the melted chocolate mixture into the egg mixture, folding gently. Sift in the flour and salt, and mix until just combined. Divide the batter evenly among the prepared ramekins and bake for 11-12 minutes until the edges are firm but the center is still soft.
Allow the cakes to cool for 1 minute, then run a knife around the edges and invert onto plates. Dust with powdered sugar and serve with a scoop of vanilla ice cream if desired.
Extra Tips
- For a fun twist, try adding a tablespoon of coffee liqueur to the batter for an enhanced chocolate flavor.
Nutritional Breakdown (Per Serving)
- Calories: 380 kcal
- Total Fat: 26g
- Saturated Fat: 15g
- Cholesterol: 195mg
- Sodium: 85mg
- Total Carbohydrates: 32g
- Dietary Fiber: 3g
- Sugars: 24g
- Protein: 6g